How Can We Help?
-
FAQs
-
Sysrisk User Manual
-
- Getting Started
- Product Catalogue
- Purchase Process
- Login Process and Forgotten Password Revival Process
- User Creation and Role Assignment
- Customization and Dashboard Configuration
- Project Creation and User Adding Process
- Category Management
- Risk Entry Creation, Edit, and Approval
- Risk Creation Using AI
- Risk Approval Process
- Functionality of Risk Register & Risk Prioritization Page
- Issue creation
- Risk Logs: Administrative and User
- Risk Closure Complete Procedure
- Risk Notification Settings
- Support and Knowledge Base
- Company Profile And AI Risk Creation
- Risk Audit
- Show Remaining Articles (4) Collapse Articles
-
-
Risk Management
-
- Control Risk
- Enterprise Risk Management (ERM)
- Inherent Risk
- Qualitative Risk Analysis
- Quantitative Risk Analysis
- Residual Risk
- Risk Acceptance
- Risk Acceptance Criteria
- Risk Aggregation
- Risk Analysis
- Risk Analysis Methods
- Risk Analytics
- Risk Appetite
- Risk Appetite Framework
- Risk Appetite Statement
- Risk Appetite Statement
- Risk Assessment
- Risk Assessment Matrix
- Risk Assessment Process
- Risk Attribution
- Risk Avoidance
- Risk Bearing Capacity
- Risk Benchmarking
- Risk Capacity
- Risk Capital
- Risk Clustering
- Risk Communication
- Risk Communication Plan
- Risk Concentration
- Risk Contingency
- Risk Contingency Plan
- Risk Control
- Risk Convergence
- Risk Criteria
- Risk Culture
- Risk Dashboard
- Risk Dependency
- Risk Diversification
- Risk Escalation
- Risk Escalation Path
- Risk Evaluation
- Risk Exposure
- Risk Financing
- Risk Framework
- Risk Governance
- Risk Heat Map
- Risk Horizon
- Risk Identification
- Risk Indicator
- Risk Intelligence
- Risk Interdependency
- Risk Inventory
- Risk Landscape
- Risk Management(RM)
- Risk Management Dashboard
- Risk Management Framework
- Risk Management Maturity
- Risk Management Plan
- Risk Management Policy
- Risk Mapping
- Risk Matrix
- Risk Maturity
- Risk Mitigation
- Risk Mitigation Plan
- Risk Mitigation Strategy
- Risk Model
- Risk Monitoring
- Risk Optimization
- Risk Owner
- Risk Ownership
- Risk Policy
- Risk Portfolio
- Risk Prioritization
- Risk Profile
- Risk Quantification
- Risk Reduction
- Risk Register
- Risk Register Update
- Risk Reporting
- Risk Resilience
- Risk Response
- Risk Response Plan
- Risk Review
- Risk Review Process
- Risk Scenario
- Risk Scenario Analysis
- Risk Scenario Planning
- Risk Scoring
- Risk Sensing
- Risk Sharing
- Risk Strategy
- Risk Taxonomy
- Risk Threshold
- Risk Tolerance
- Risk Tolerance Level
- Risk Transfer
- Risk Transparency
- Risk-Adjusted Return
- Show Remaining Articles (83) Collapse Articles
-
- Business Continuity Risk
- Capital Risk
- Competition Risk
- Compliance Risk
- Counterparty Risk
- Credit Risk
- Credit Spread Risk
- Currency Risk
- Cybersecurity Risk
- Cybersecurity Risk
- Deflation Risk
- Environmental Risk
- Environmental Risk
- Ethical Risk
- Event Risk
- Financial Risk
- Foreign Exchange Risk
- Fraud Risk
- Fraud Risk
- Geopolitical Risk
- Health and Safety Risk
- Human Capital Risk
- Inflation Risk
- Inflation Risk
- Infrastructure Risk
- Innovation Risk
- Innovation Risk
- Insurance Risk
- Intellectual Property Risk
- Interest Rate Risk
- Legal Risk
- Liquidity Risk
- Liquidity Risk
- Market Risk
- Model Risk
- Natural Disaster Risk
- Operational Risk
- Operational Risk
- Outsourcing Risk
- Political Risk
- Product Liability Risk
- Project Risk
- Regulatory Change Risk
- Regulatory Risk
- Reputation Risk
- Reputation Risk
- Reputational Risk
- Resource Risk
- Sovereign Risk
- Strategic Alliance Risk
- Strategic Risk
- Strategic Risk
- Supply Chain Risk
- Sustainability Risk
- Systemic Risk
- Technological Risk
- Technology Risk
- Show Remaining Articles (42) Collapse Articles
-
When a risk ticket is created and sent for approval, it is transferred to the Risk Approval Queue page of the assigned Risk Owner. Only a Risk Owner can approve, reject, or request changes to a risk entry ticket through this page. Note that general users cannot be assigned as Risk Owners.
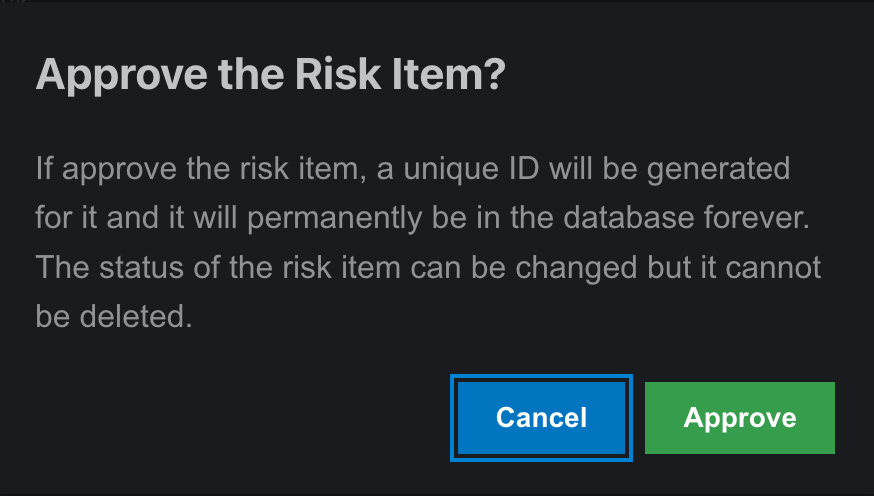
- Approval: If a risk ticket is approved, the software generates a unique ID for the risk entry and saves it in the register.
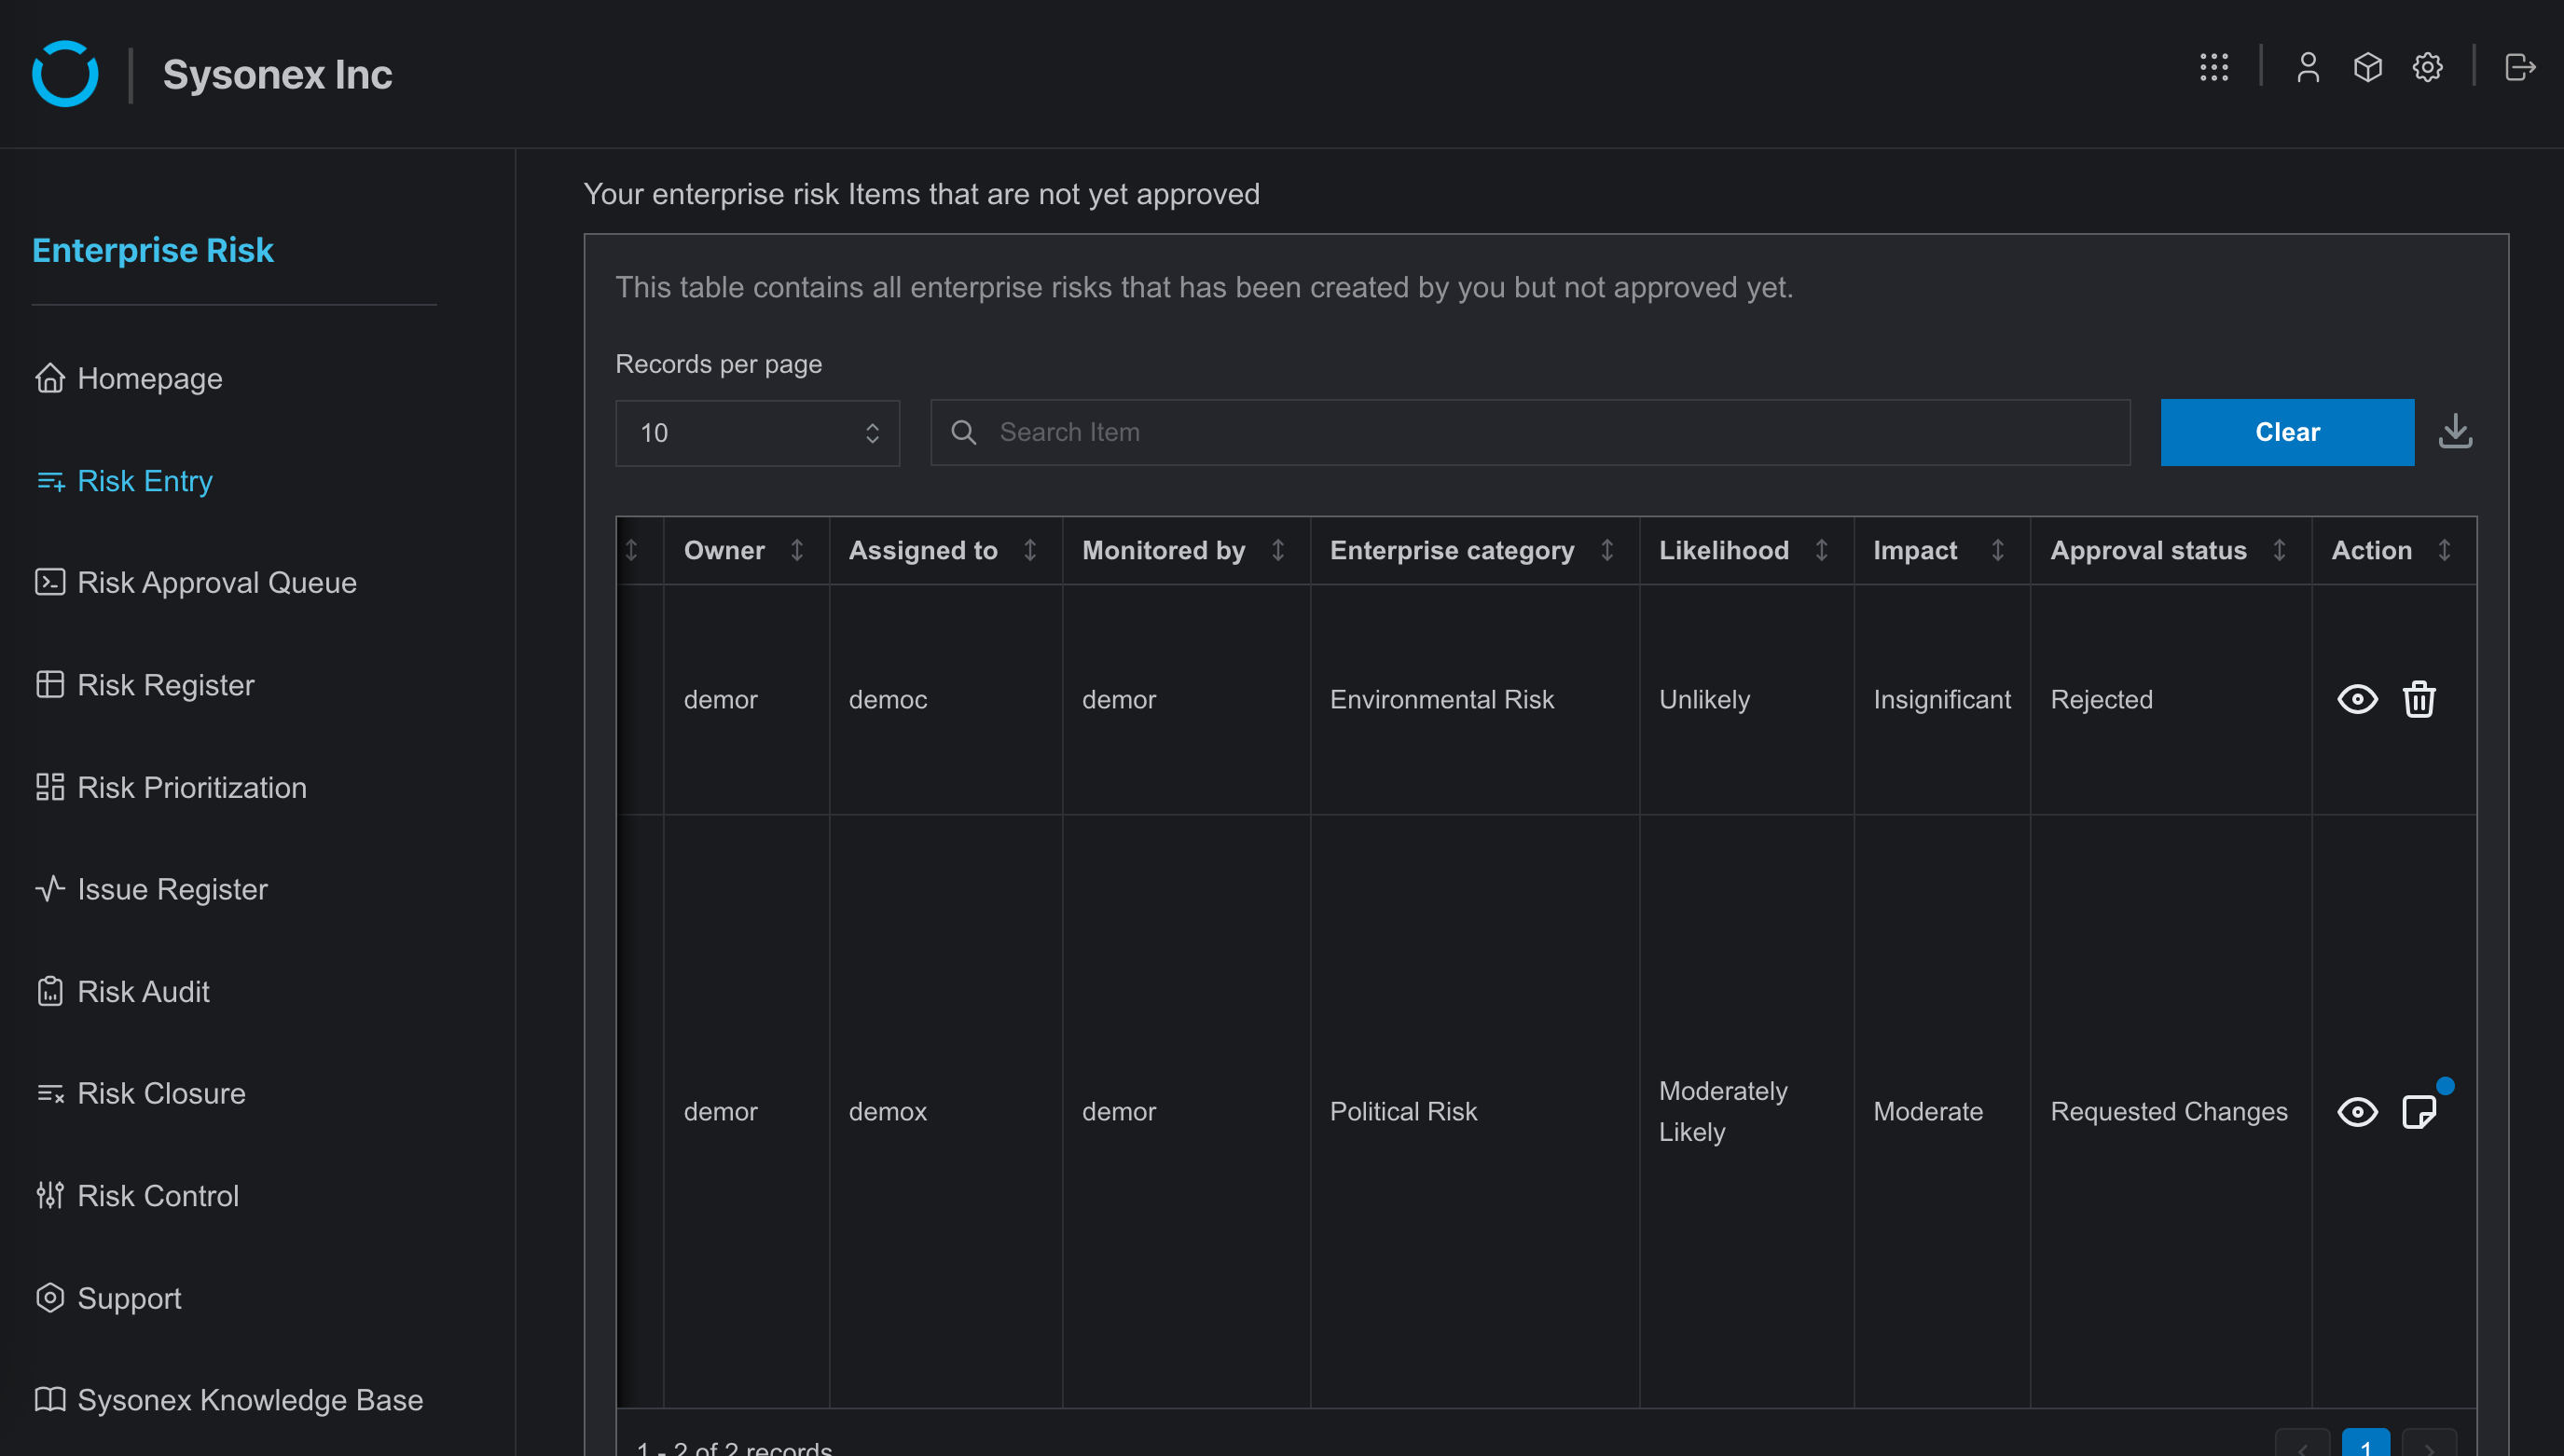
- Rejection or Request for Change: If a risk ticket is rejected or a change is requested, it remains in the Risk Entry page of the risk entry creator with Rejected or Requested changes status.
Risk Ticket Approval Process
Step-by-Step Guide for Risk Owners
- The Risk Owner must log in to their SysRisk account.
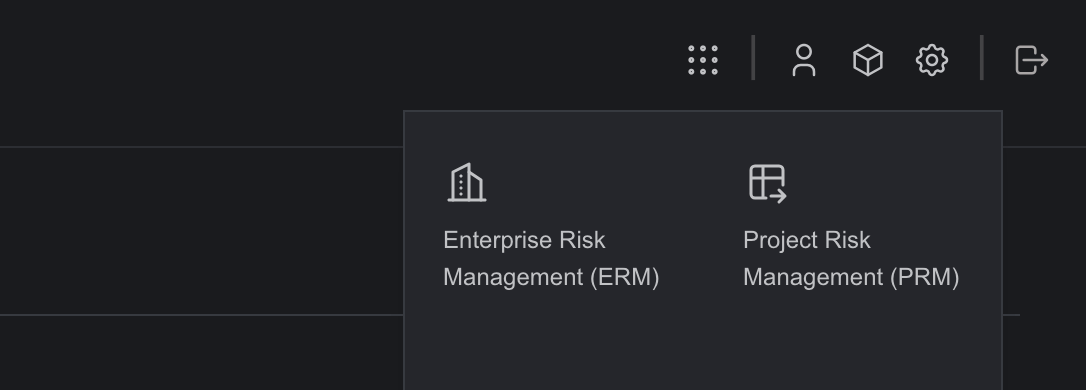
- Go to the desired module, either ERM or PRM.
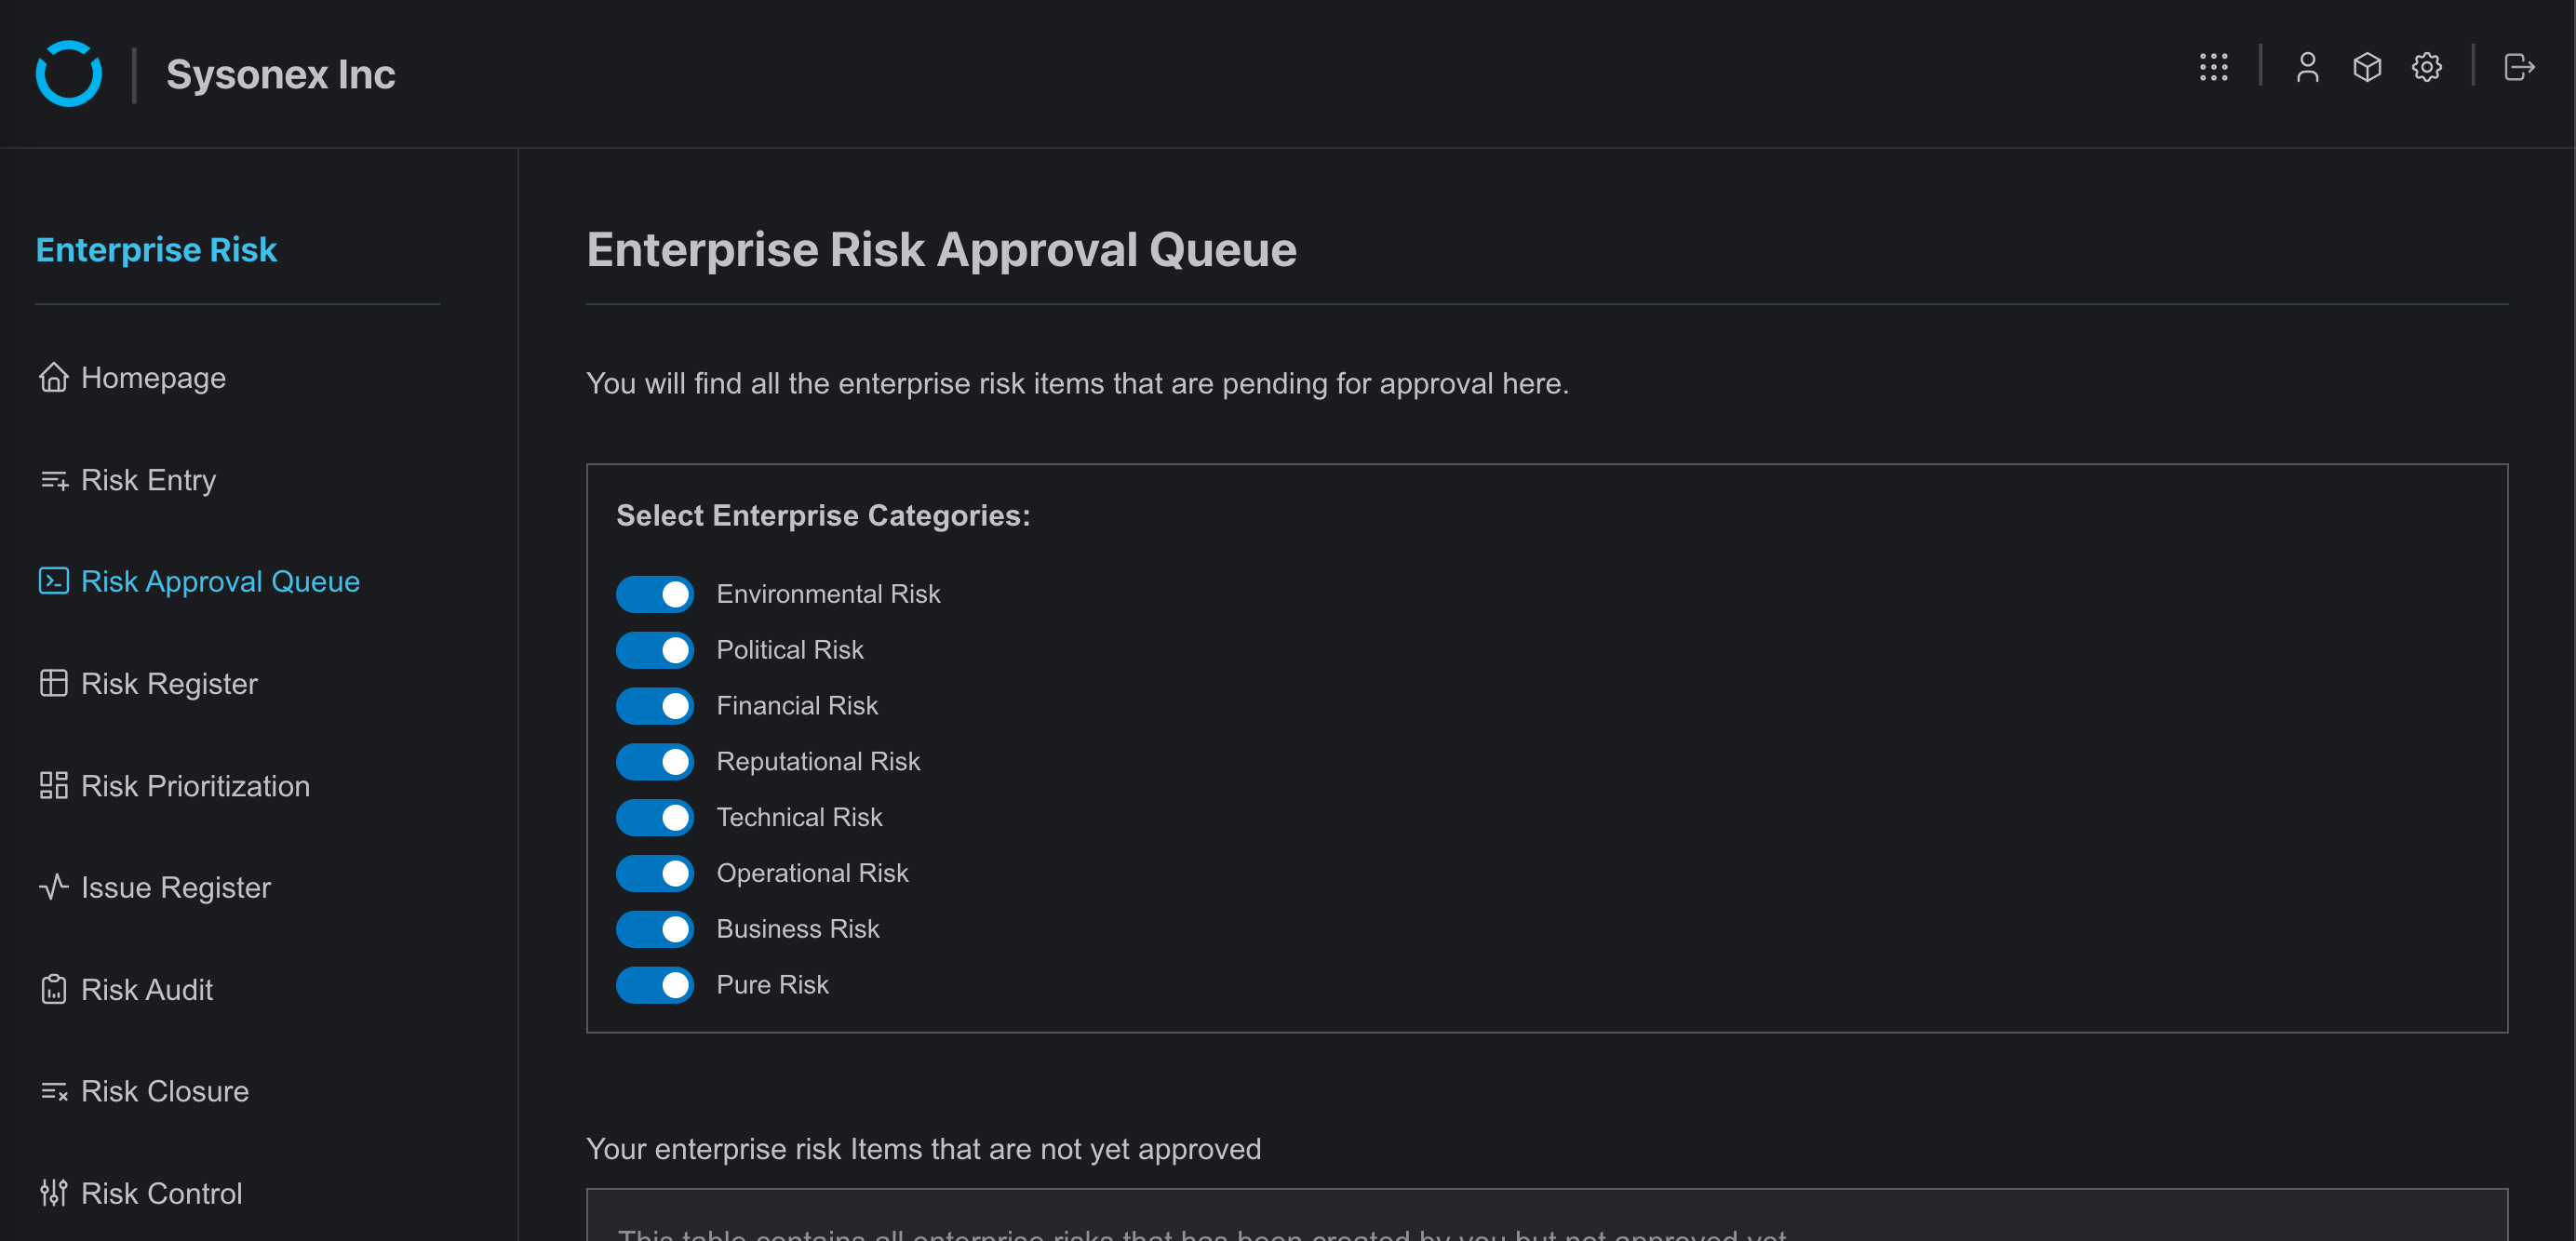
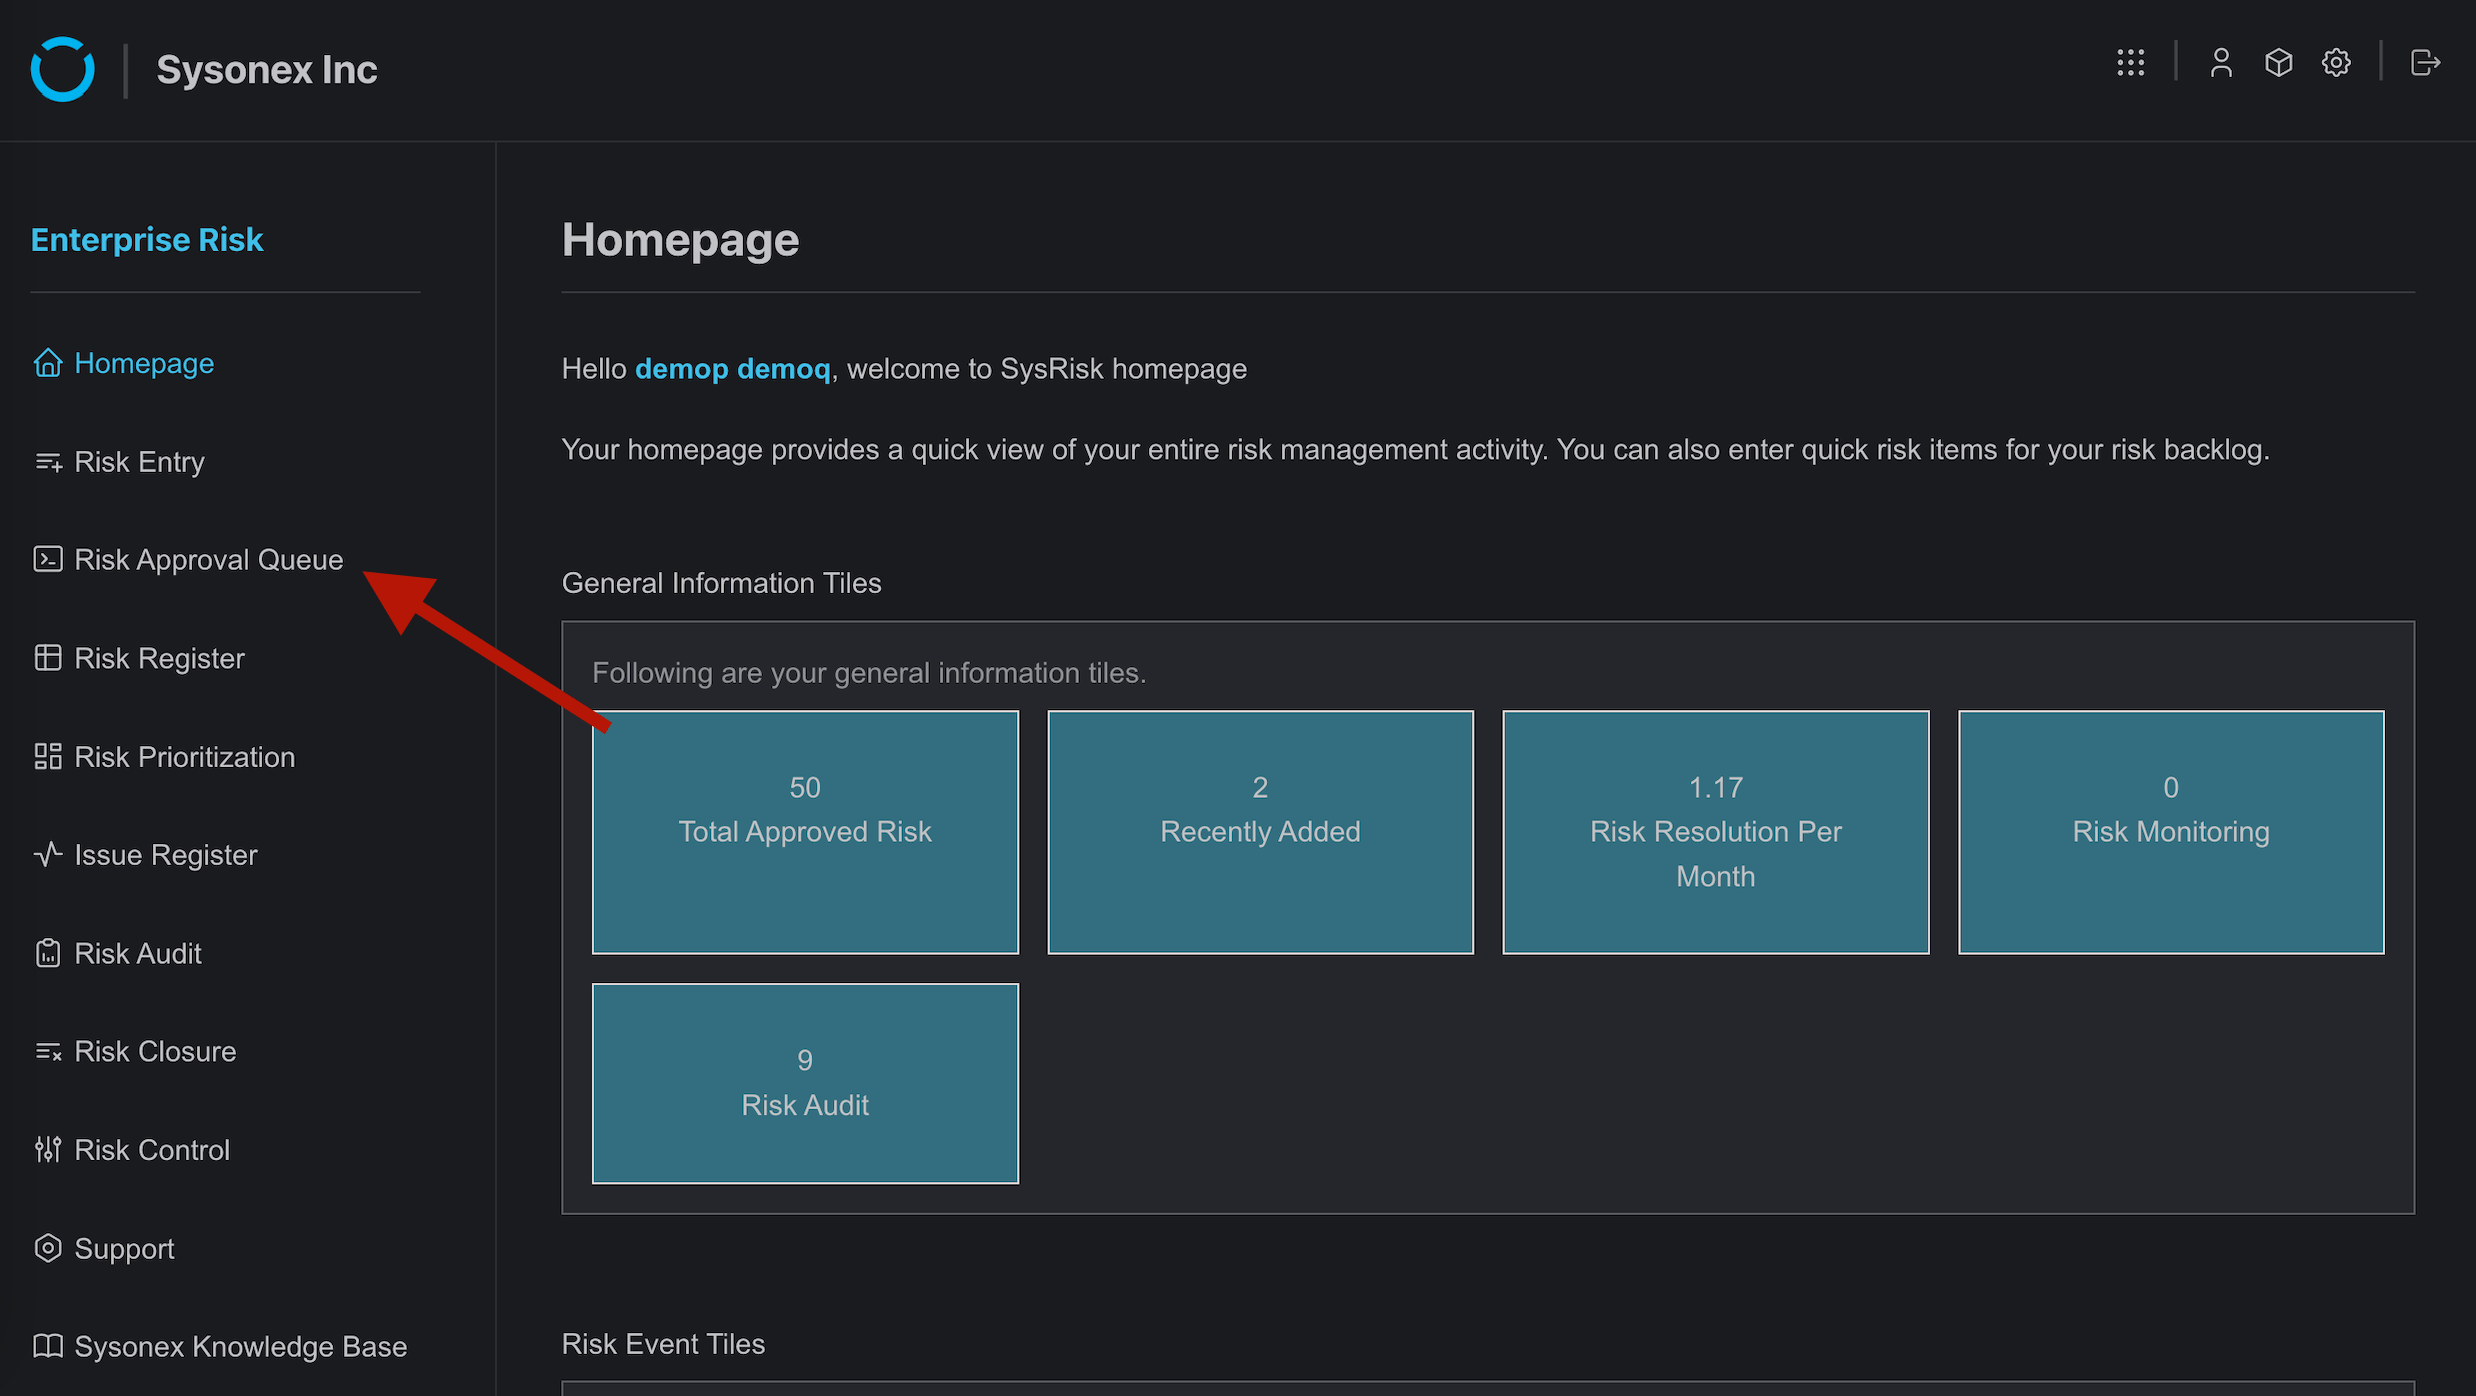
- Proceed to the Risk Approval Queue page.
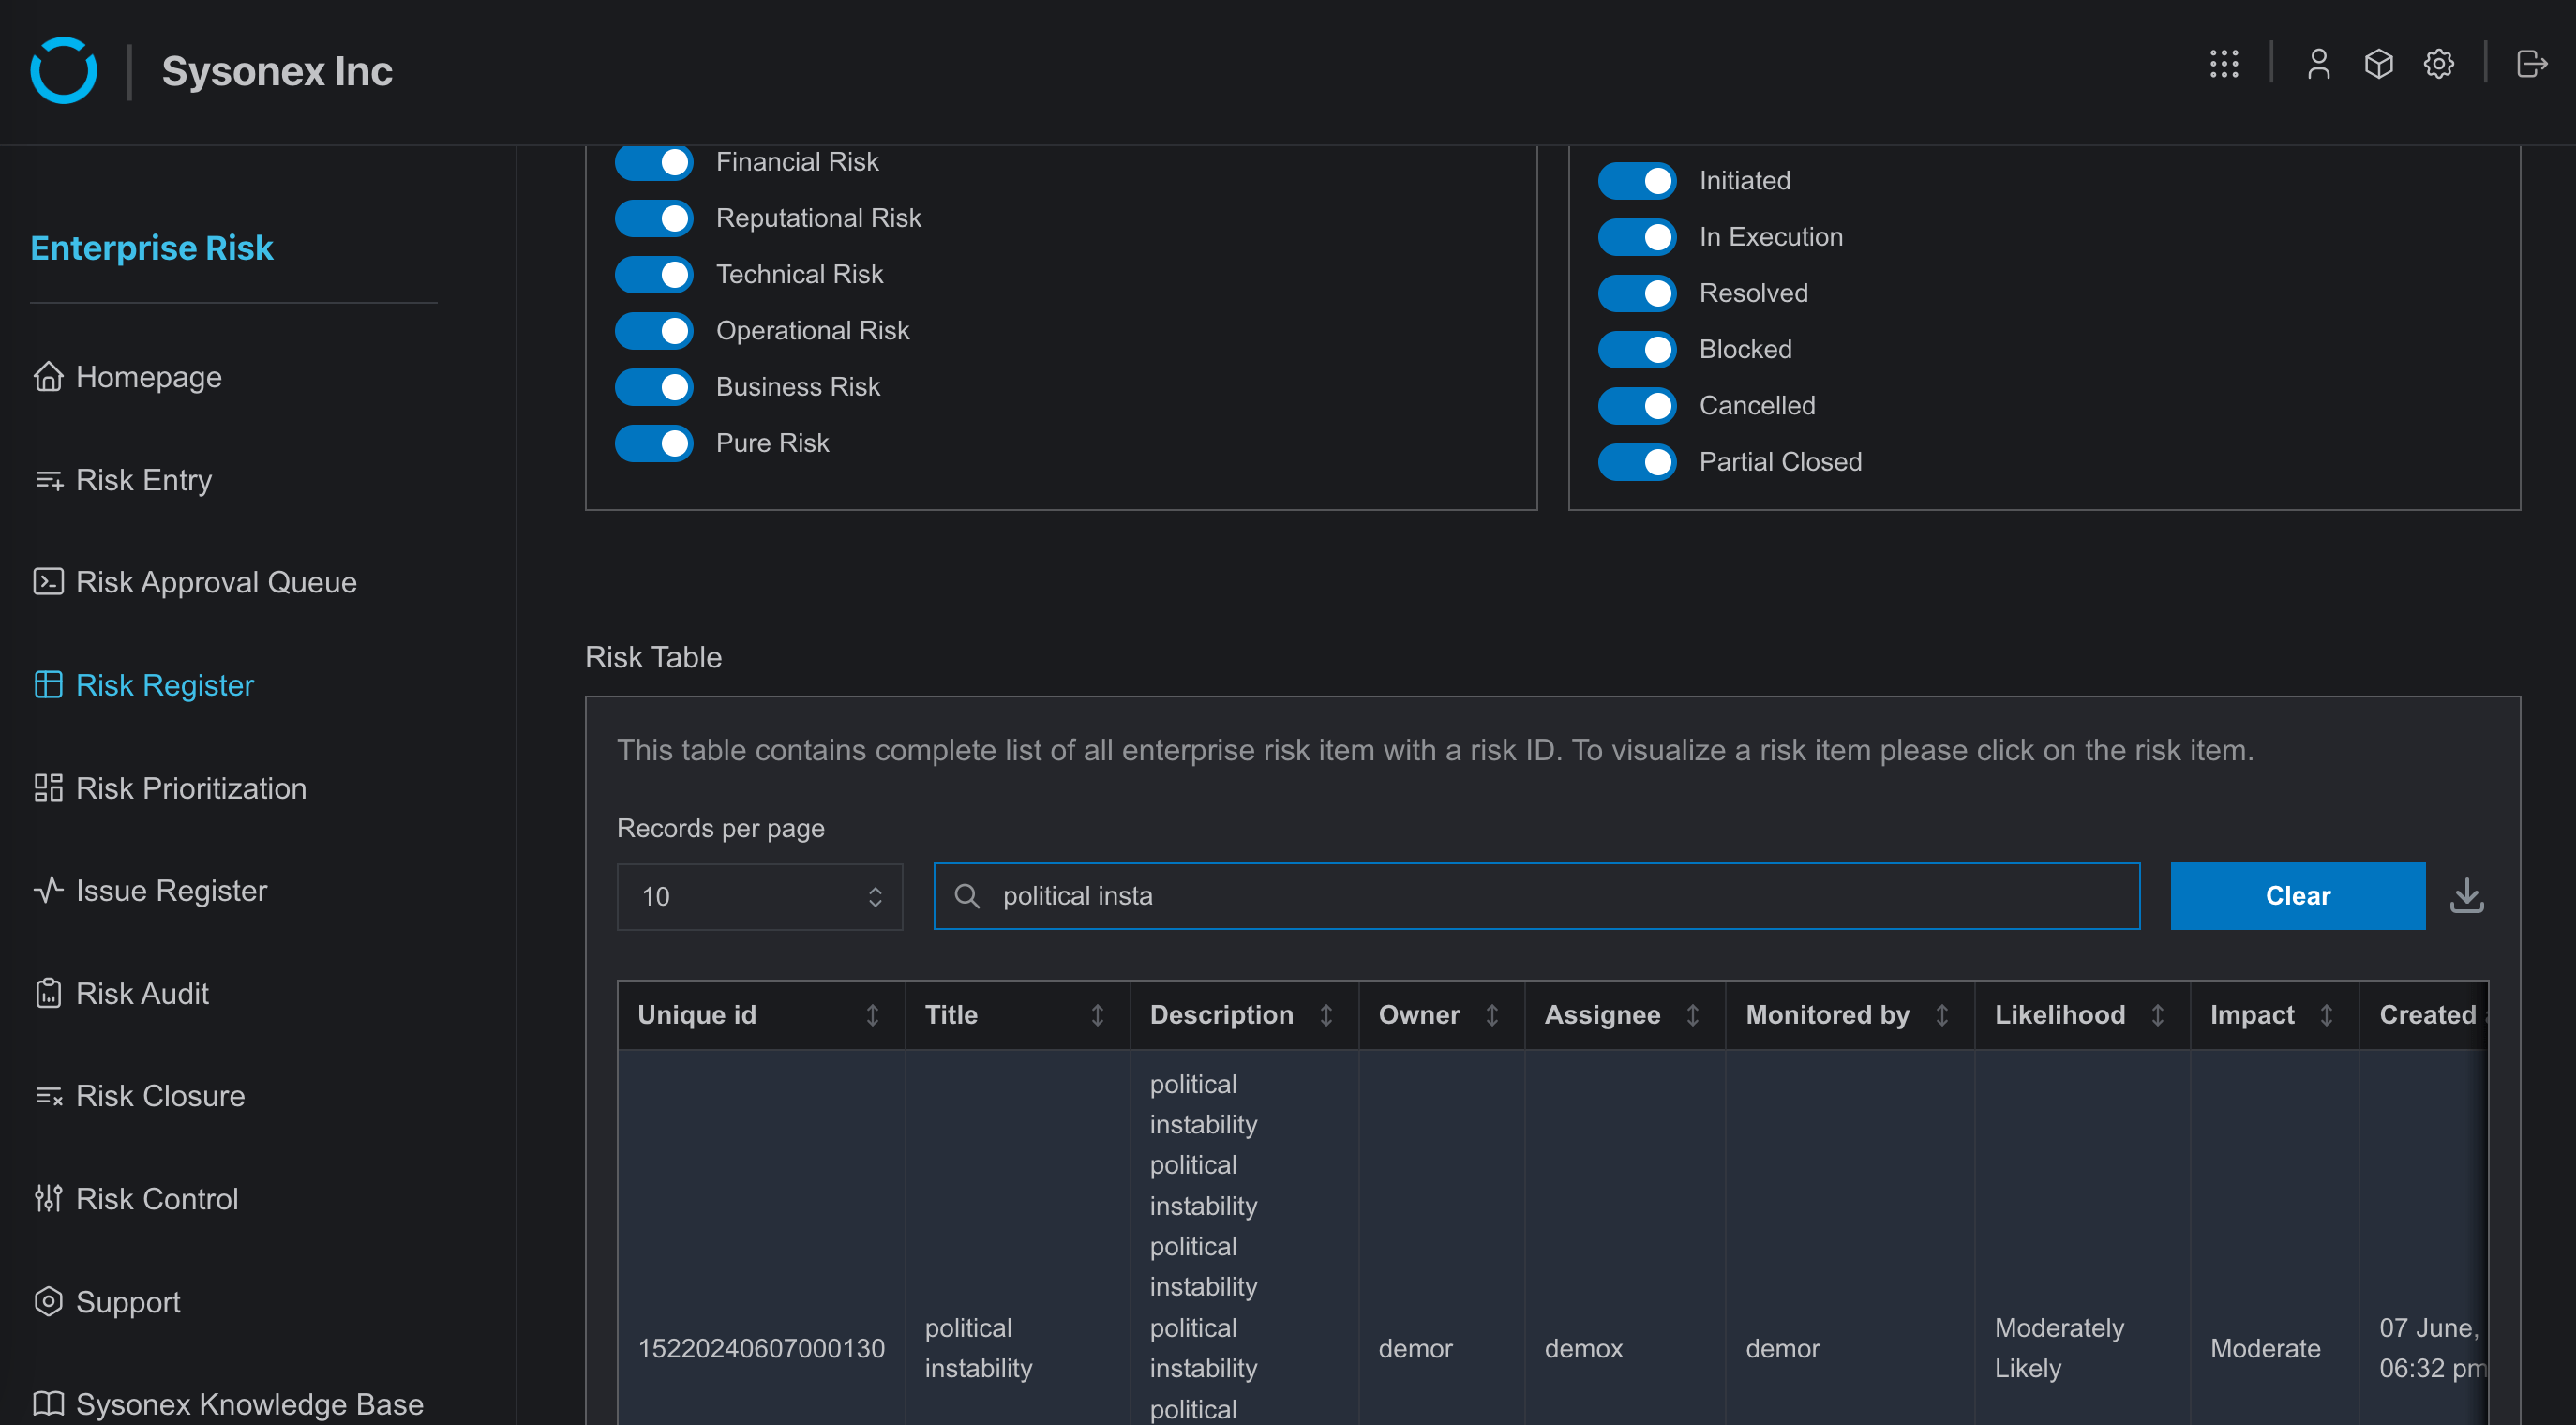
- Utilize the toggle filter to select risk categories (for the ERM module) or project names (for the PRM module) to filter the risks displayed in the table below.
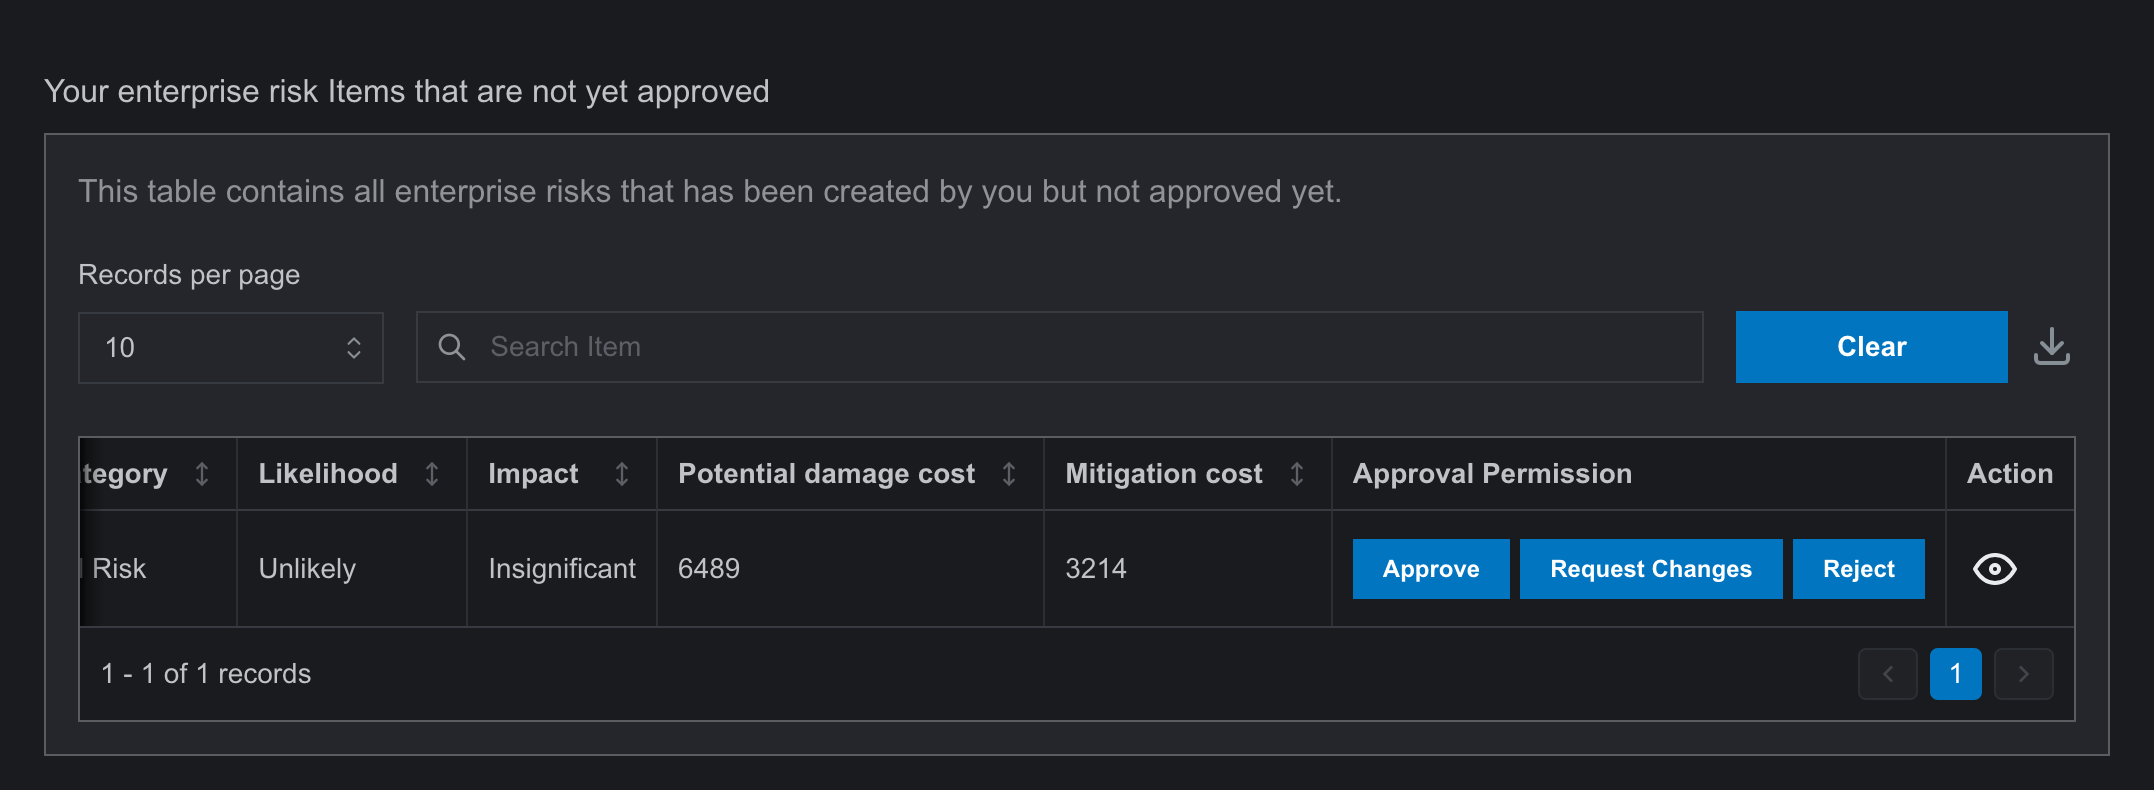
- In the table, the Risk Owner will find three buttons: “Accept,” “Reject,” and “Request for Change.”
- Choose an action:
- Accept: If the risk is accepted, the software generates a unique ID and saves it in the Risk Register page.
- Reject: If the risk is rejected, it remains in the Risk Entry page for the creator to address.
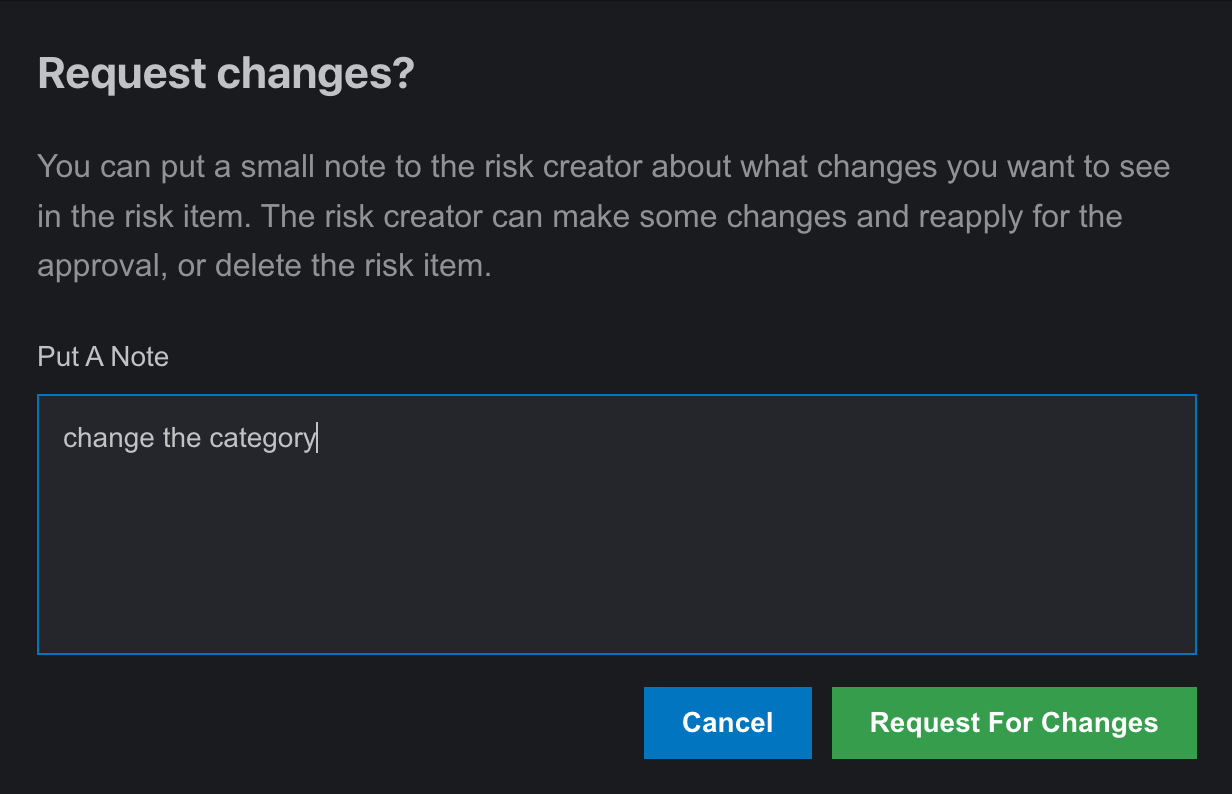
- Request for Change: If a change is requested, it asks for a note to the creator and goes in the Risk Entry page for the creator to address.
- Once saved in the Risk Register page, the risk item becomes part of all statistics. All activities related to the risk entry are tracked and recorded by the software.
Note:
Even if a risk entry is rejected, it remains in the system and can be resubmitted for approval later.
